
Getting started · 6 steps
Company details & branding
Keep your logo, business, GST and bank details up to date, and choose how your invoices look.
Before you start: Changes apply to the organisation you're working in. Everyone with access can view Organisation Profile, but only the Owner, an Admin, or someone granted Organization Profile · Edit can change it. Invoice Branding needs the Invoice Branding permission.
1Open Organisation Profile
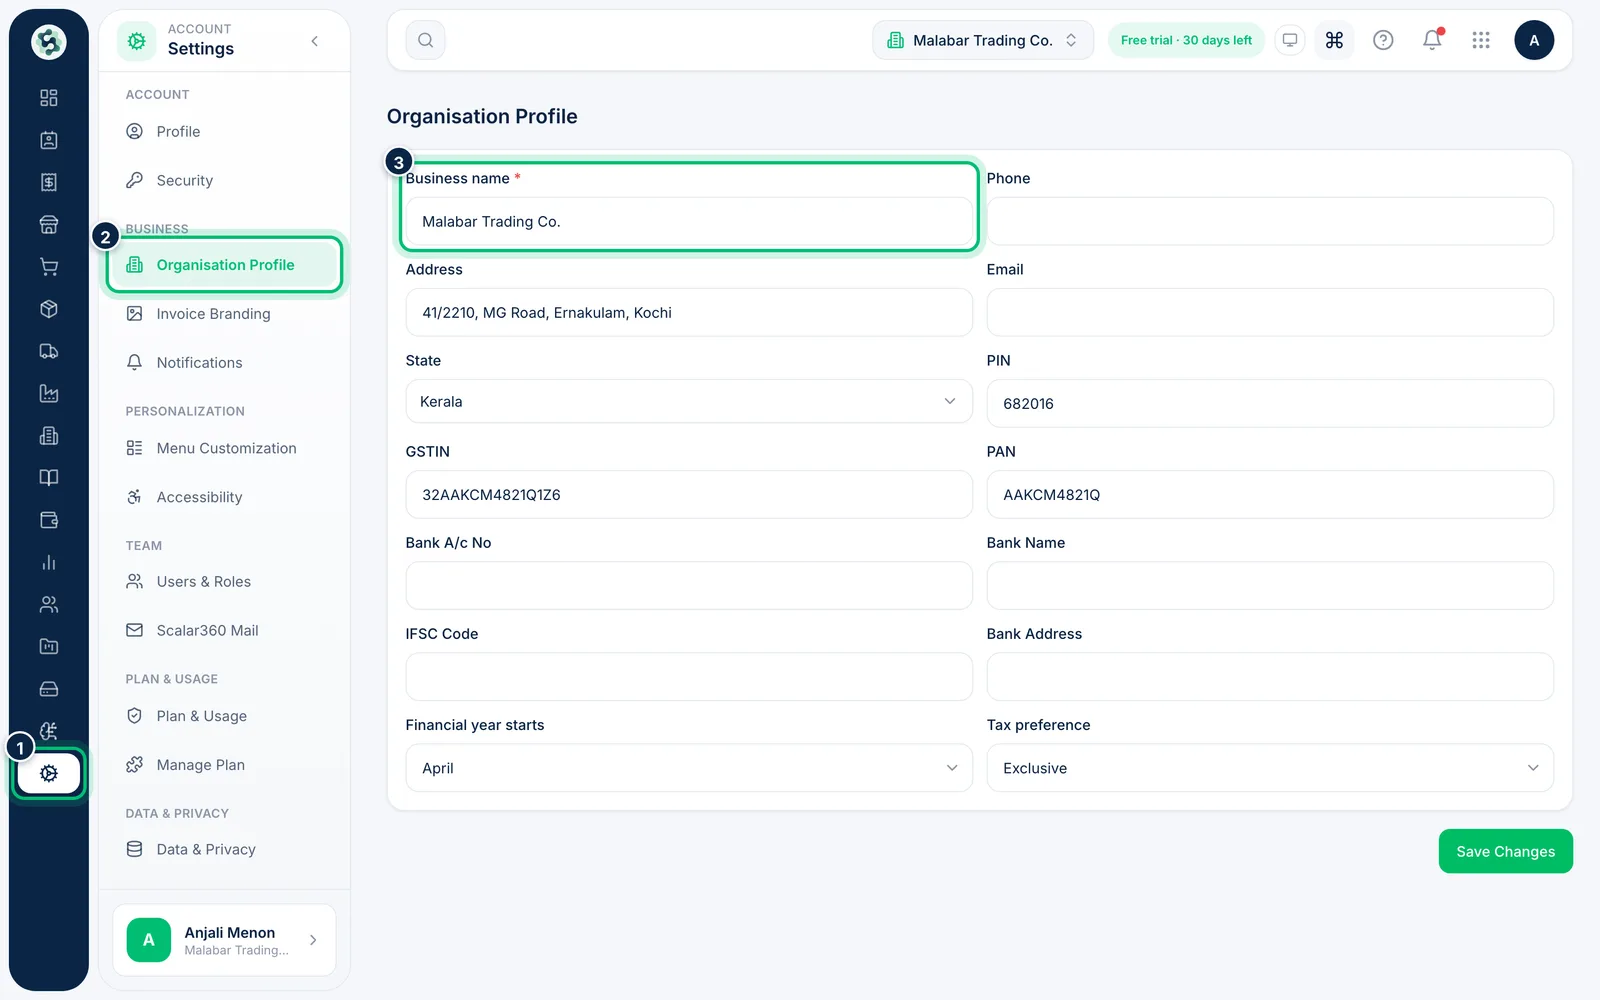
Open Settings at the bottom of the rail, then Organisation Profile. Under Business details and Address, check your Business name, email, phone, street address, state and PIN code. If the fields are greyed out and a note says you can only view them, ask your Owner or an Admin for edit access.
2Upload your logo
At the top of Organisation Profile, click the logo tile or Upload logo and pick a PNG or JPG (up to 1 MB). Your logo appears on invoices, quotes and other documents. Use Change logo to replace it, or the bin button to remove it.
3Add GST and bank details
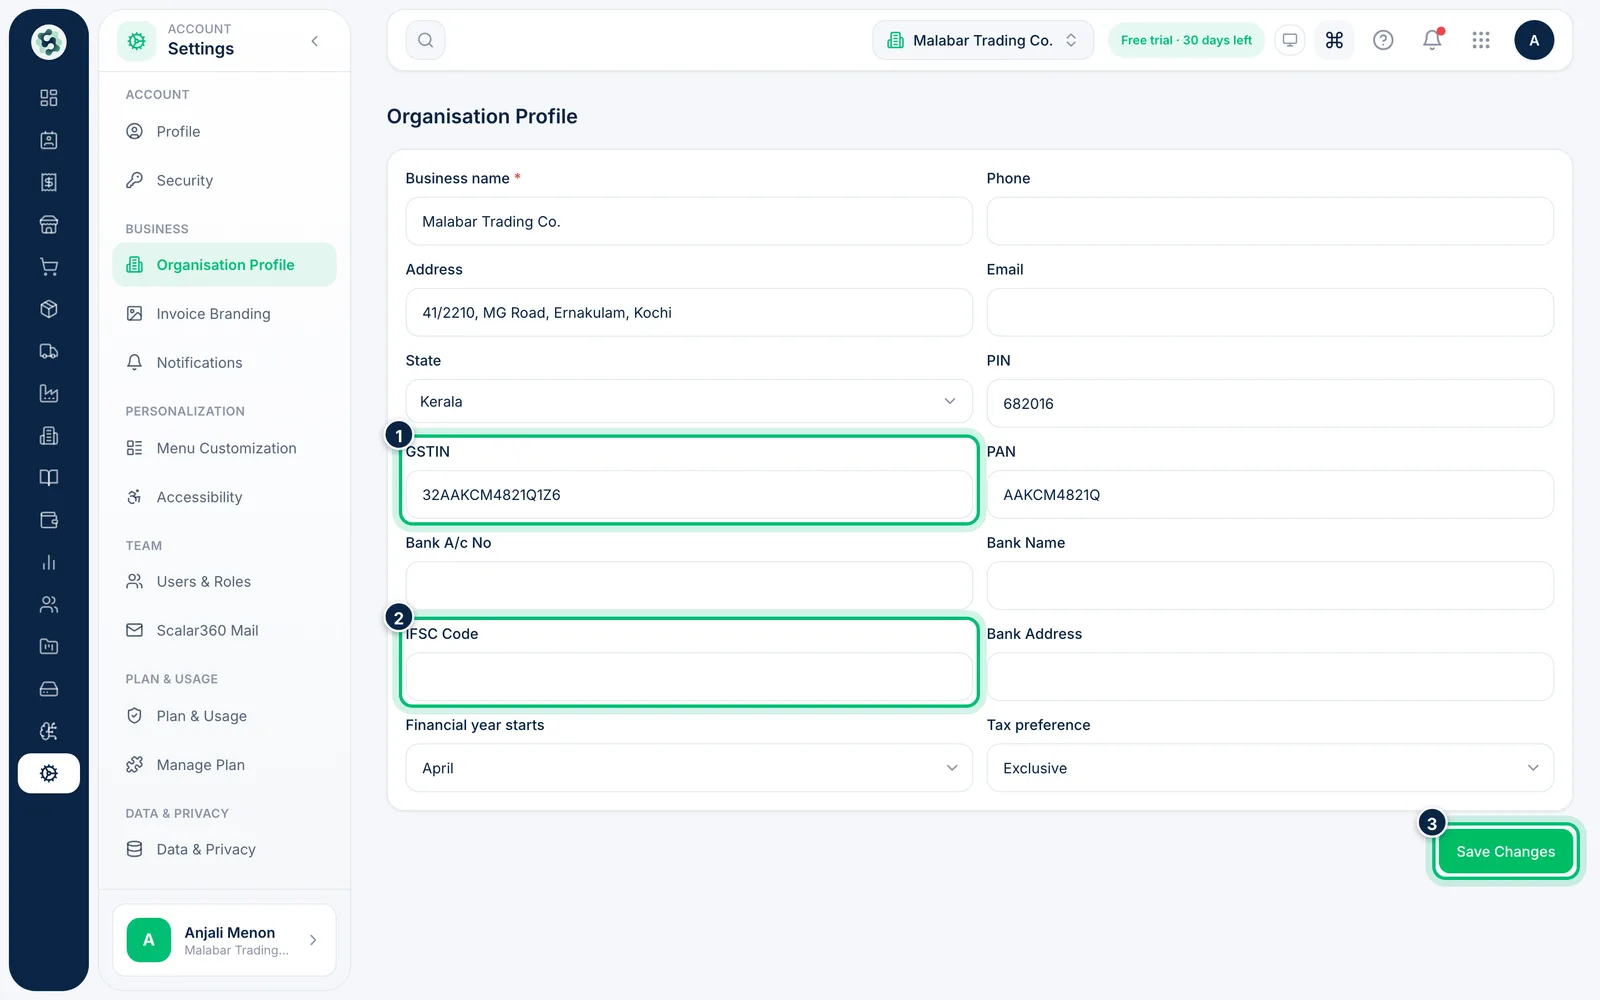
Under Tax & accounting, fill in your GSTIN and PAN. Under Bank details, add your bank name, account number, IFSC code and branch address so they can appear on invoices. The save bar stays at the bottom of the screen: choose Save Changes when you're done, or Discard to undo your edits.
4Pick an invoice template
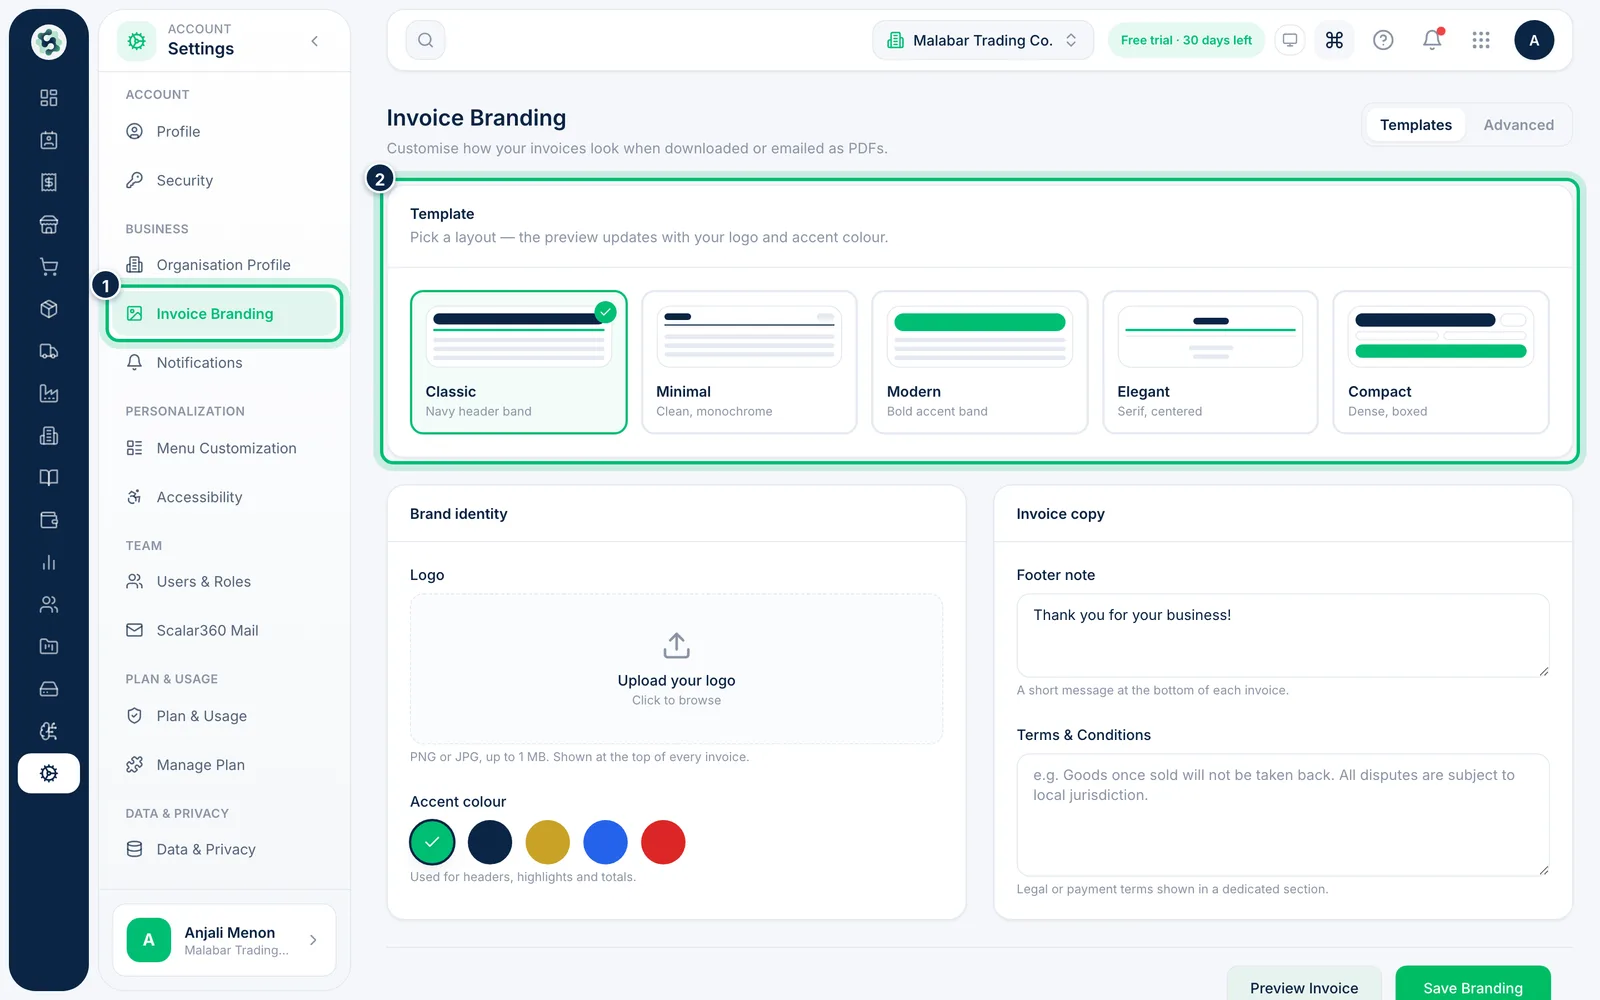
Open Sales & Invoicing from the rail, choose Settings in its menu, then the Invoice Branding tab. Under Template, choose a layout — Classic, Minimal, Modern, Elegant or Compact. The thumbnails update with your accent colour.
5Choose your accent colour
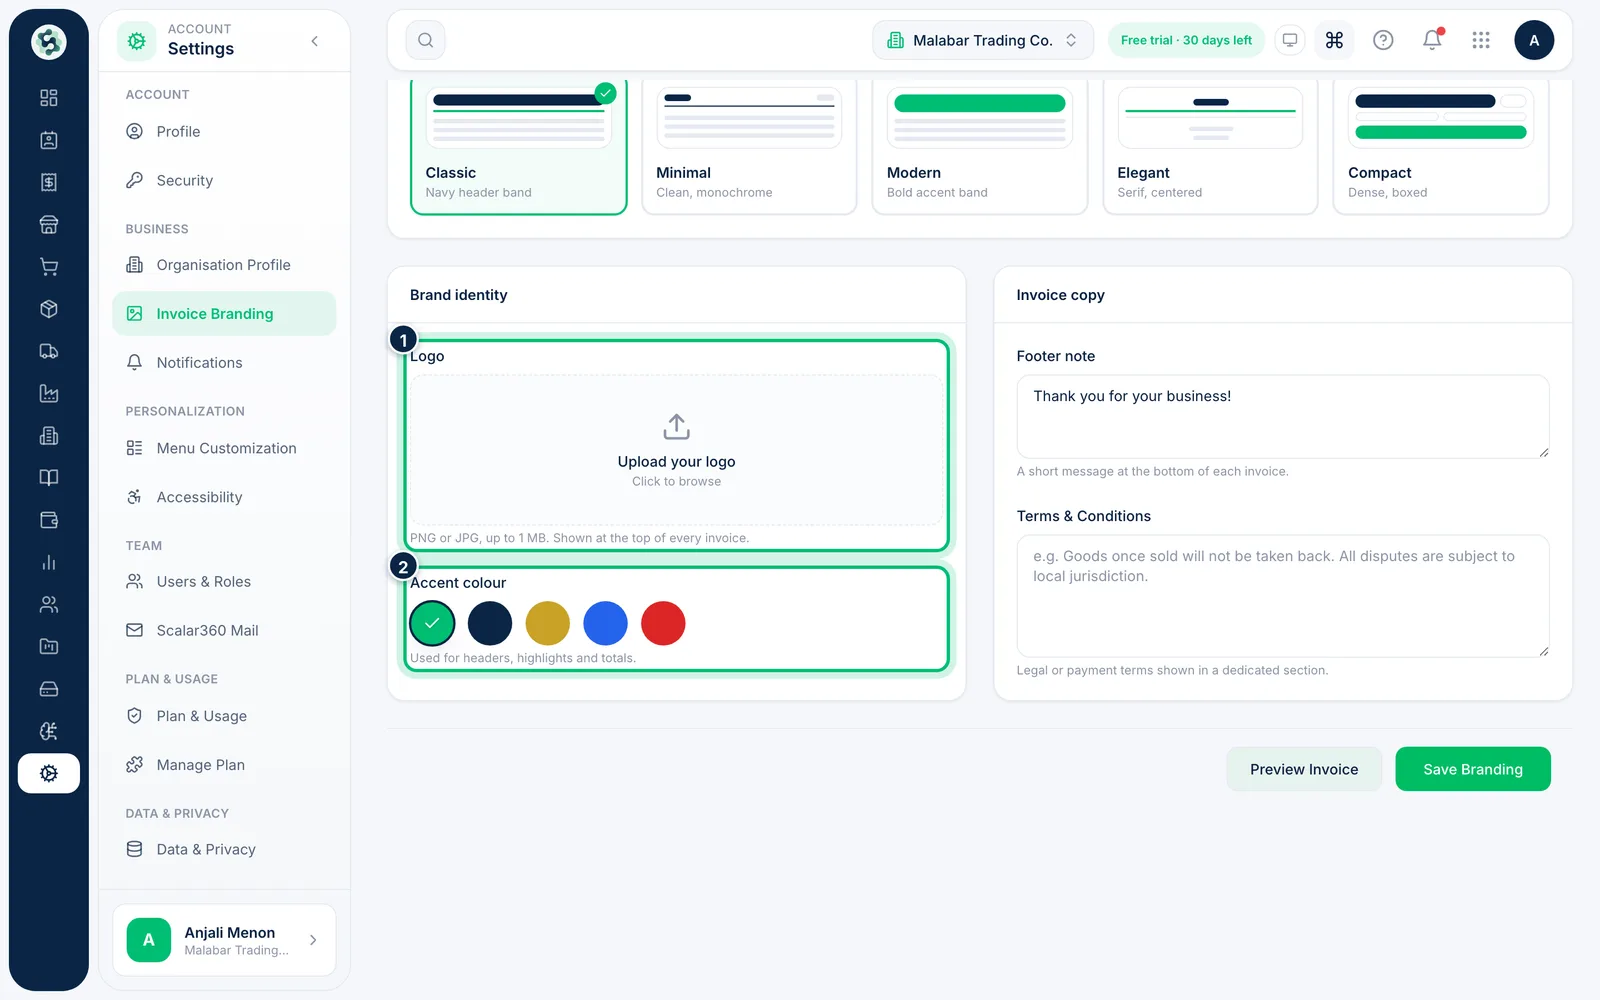
Under Brand identity, choose an Accent colour for headers, highlights and totals. The Logo shown here is the one from Organisation Profile — follow the link beside it to change it.
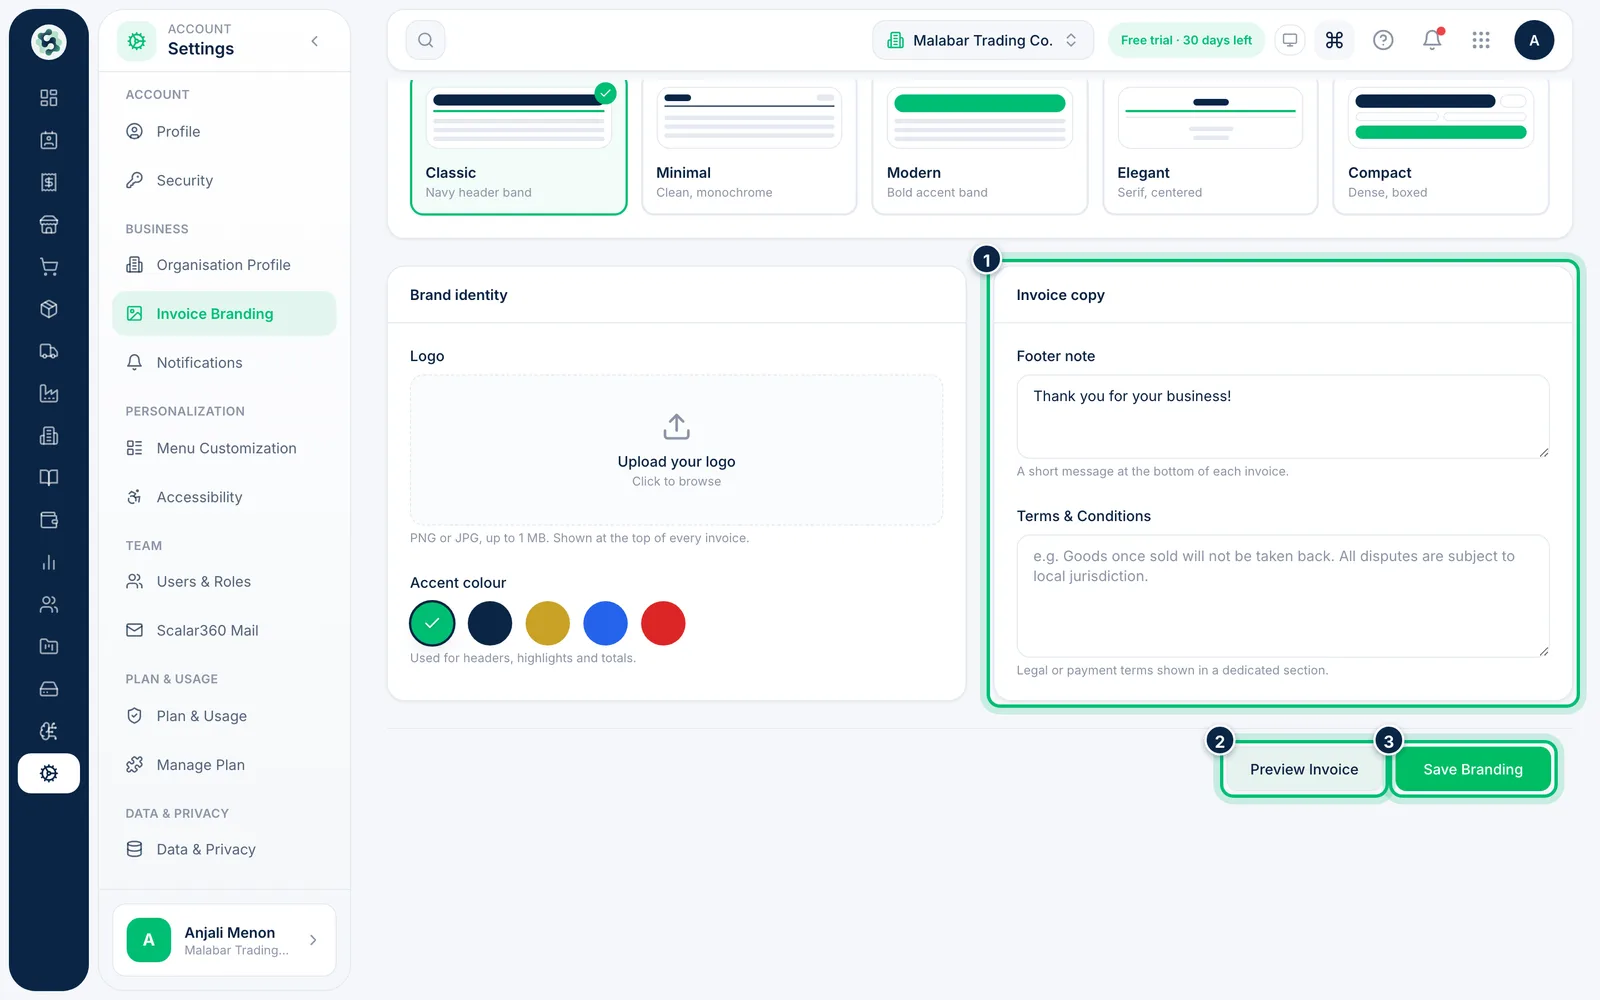
6Add a footer and terms, then save
Write a short Footer note and your Terms & Conditions. Choose Preview Invoice to see the result, then Save Branding.
Related guides
Still stuck? Contact our support team — or start a free trial to try this in your own company.