
Expenses · 4 steps
Approve or return claims
Review the claims waiting for you, check the lines and receipts, then approve them or send them back with a reason.
Before you start: You need permission to approve expenses. With an approval workflow, each level is decided by its assigned approver — or by an owner or admin.
1Open Approvals
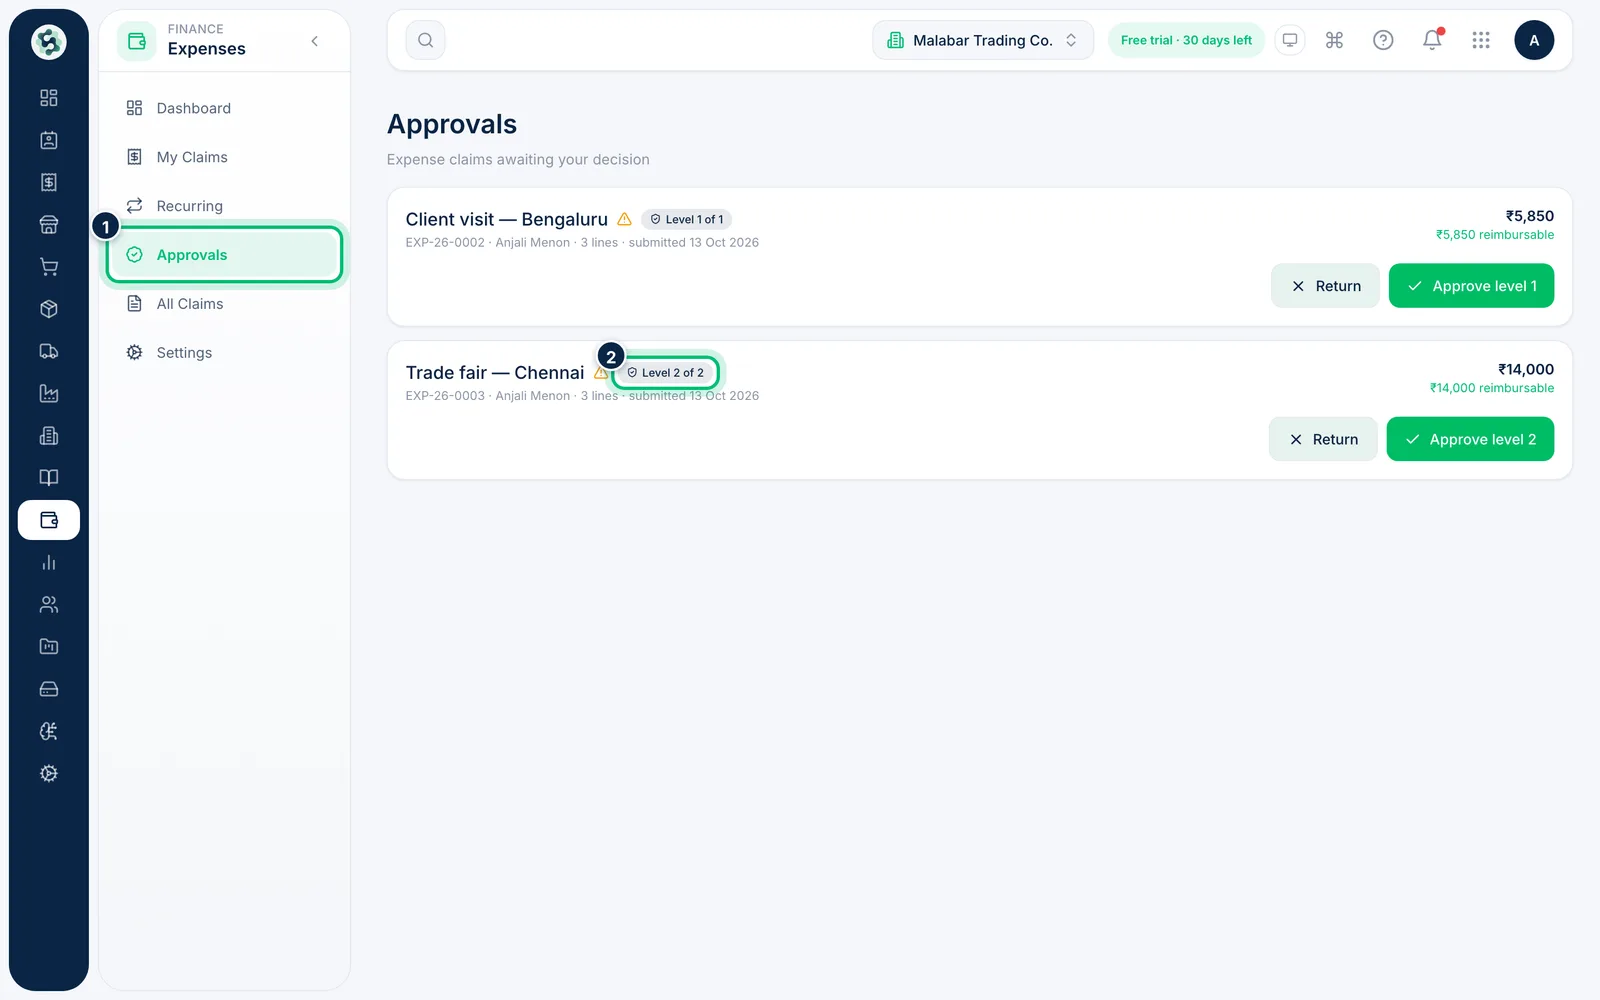
Go to Expenses → Approvals. Each card shows the claim, who submitted it, the total and the reimbursable amount. A warning sign means a line breaks a spend policy, and a label such as Level 2 of 2 shows where a claim is in a multi-level workflow.
2Review the claim
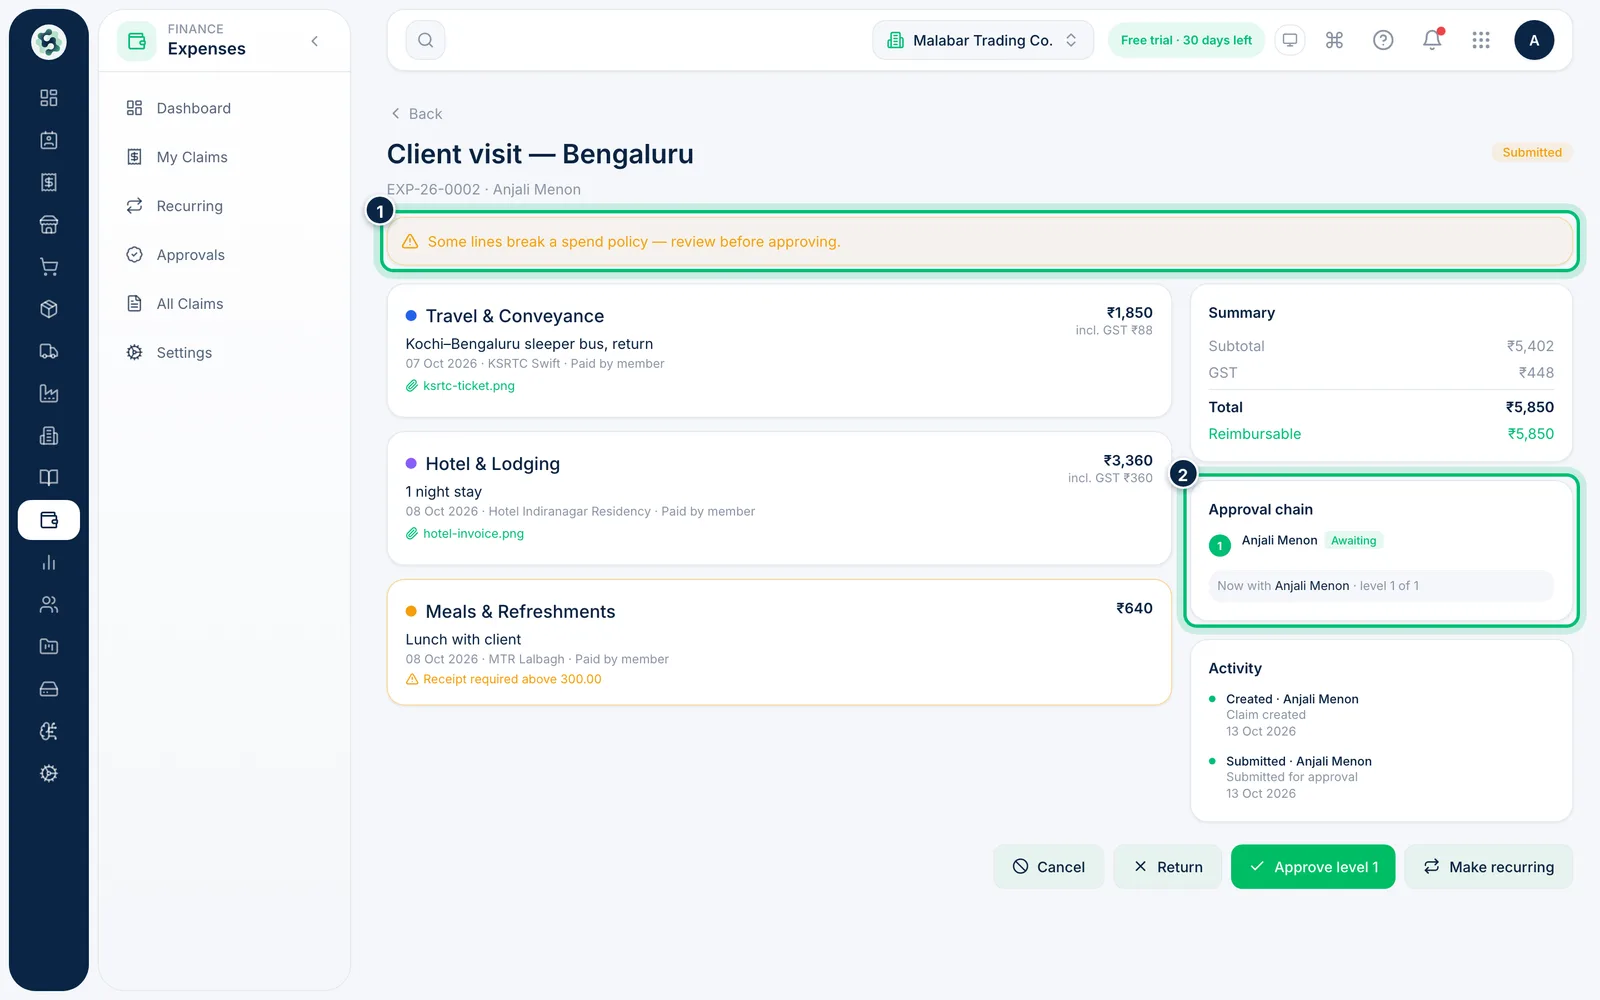
Click the claim title to open it. Check each line, its receipt and any policy note — lines that break a rule are outlined, and the banner tells approvers to review before approving (the person who submitted the claim sees a softer note instead). The Approval chain shows who's next.
3Approve the claim
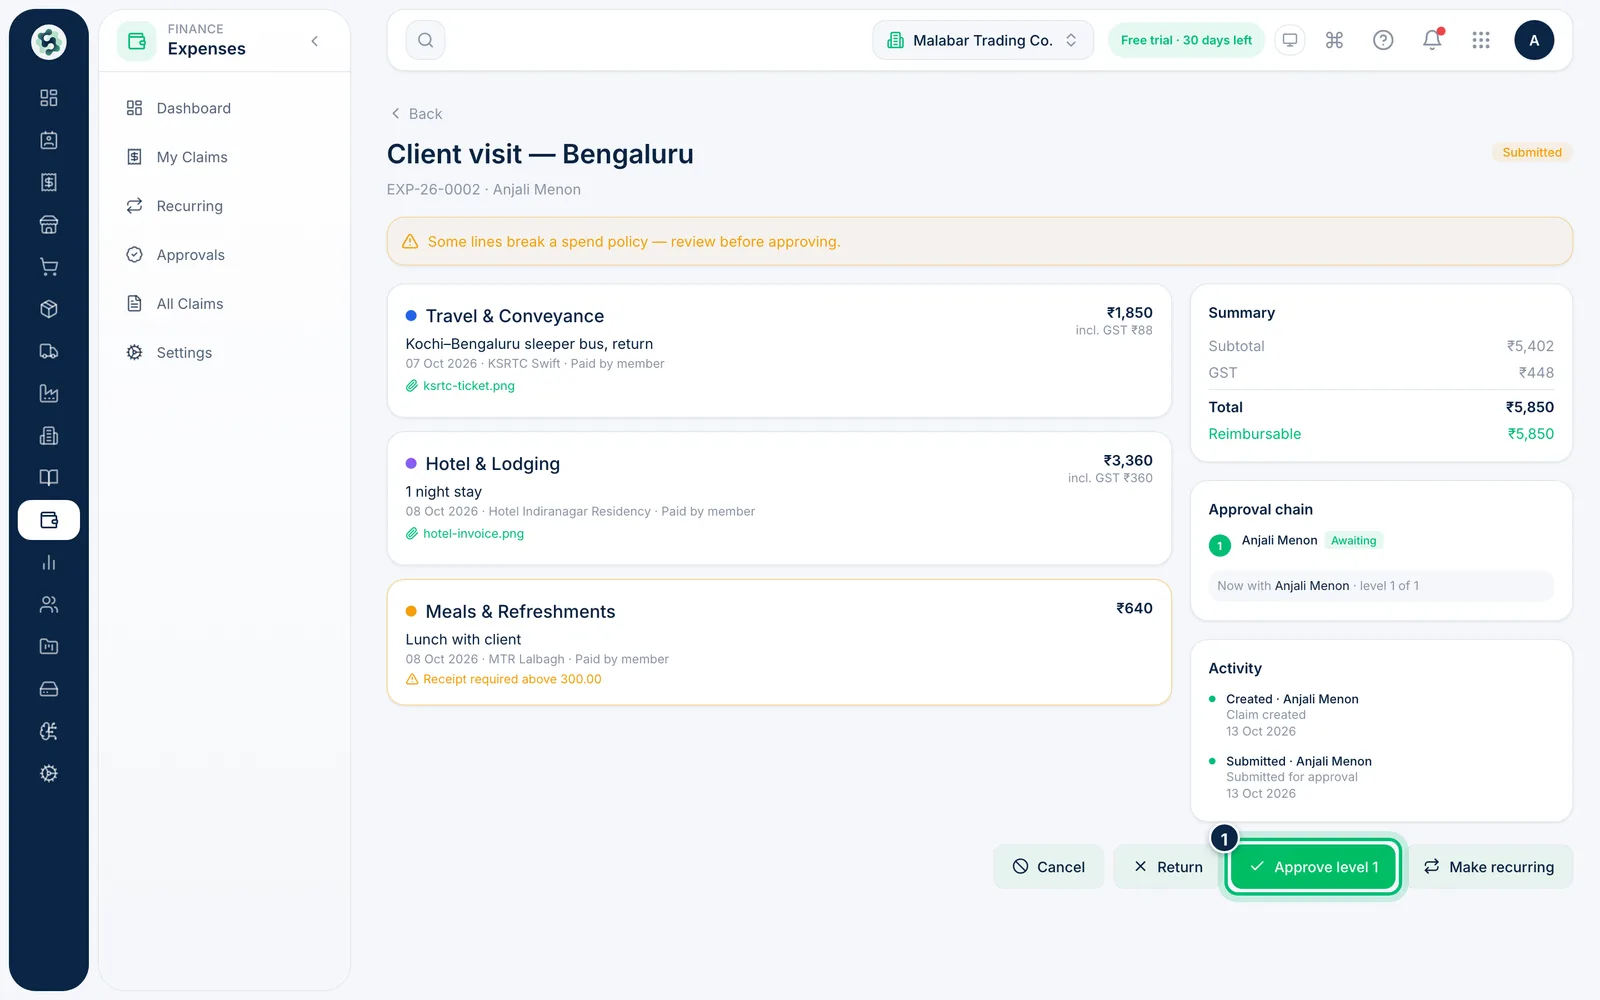
Choose Approve level 1 (or Approve when no workflow applies). If there's another level, the claim moves on to that approver; after the last level it's Approved, posted to your books straight away, and ready to be reimbursed.
4Or return it with a reason
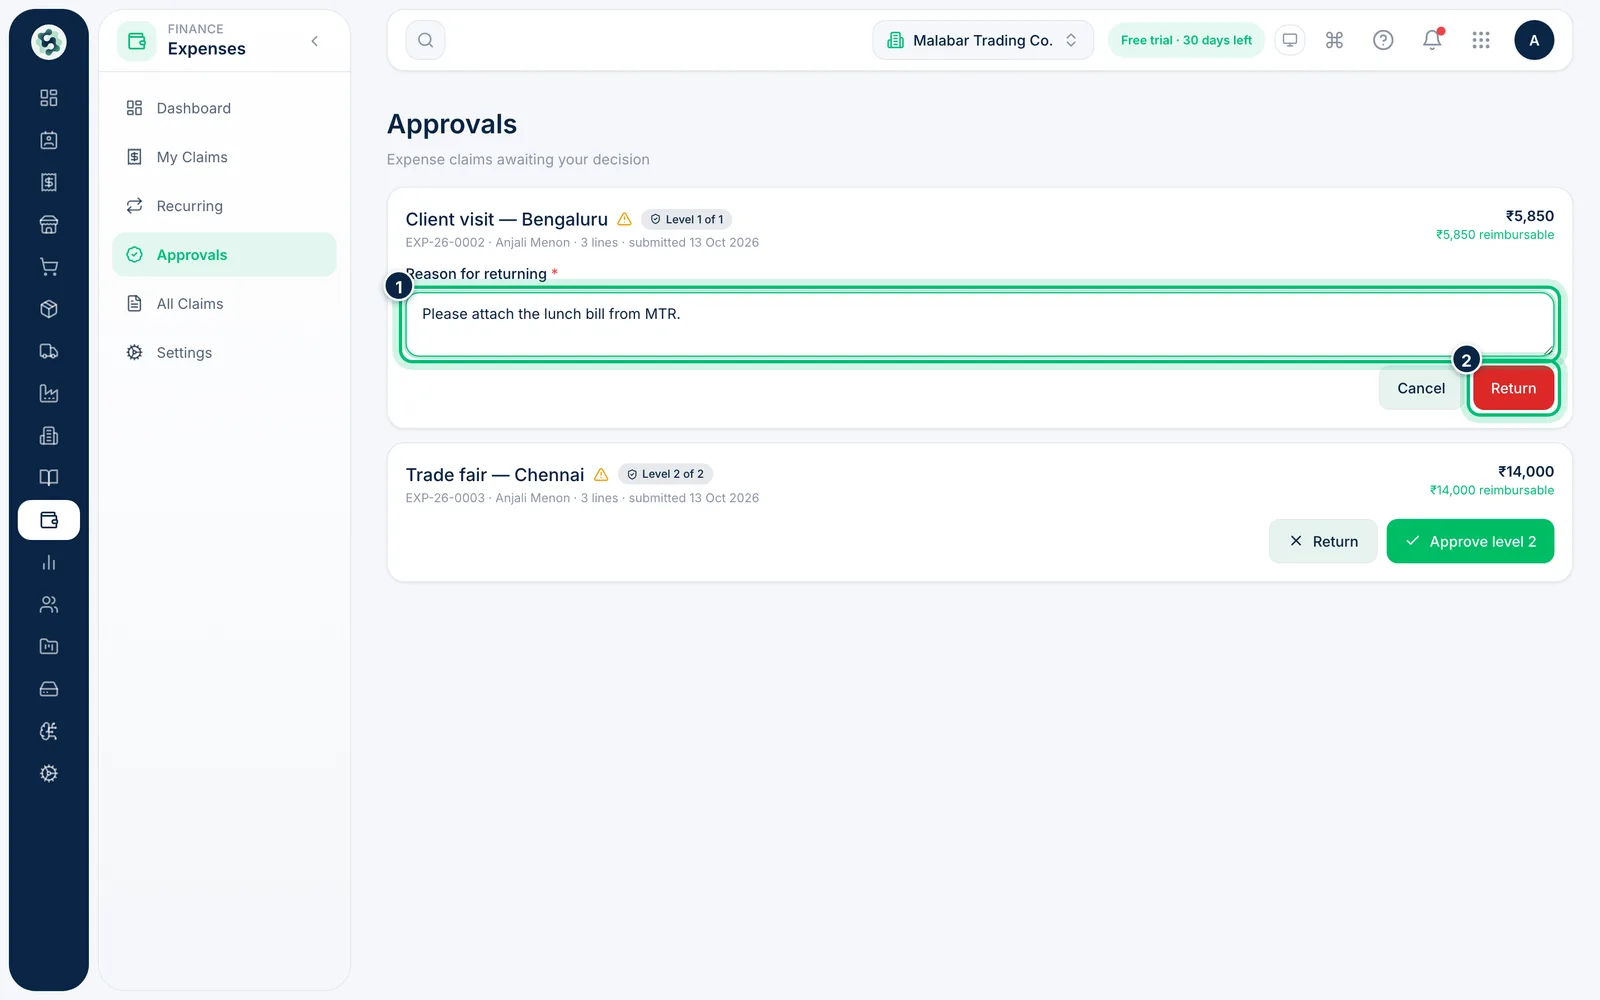
To send a claim back, choose Return on its card and say what the member should fix in Reason for returning, then choose Return again. The claim shows as Returned, its activity records Returned, and the member can edit and resubmit it.
Related guides
Still stuck? Contact our support team — or start a free trial to try this in your own company.