
Inventory · 4 steps
Print barcode labels
Design barcode or QR labels and shelf tags for your items and print them on A4 sheets or a thermal printer.
1Add items to the print queue
Open Inventory → Labels & Barcodes and click the items you want labels for. Each one joins the Print queue, where you set how many labels to print.
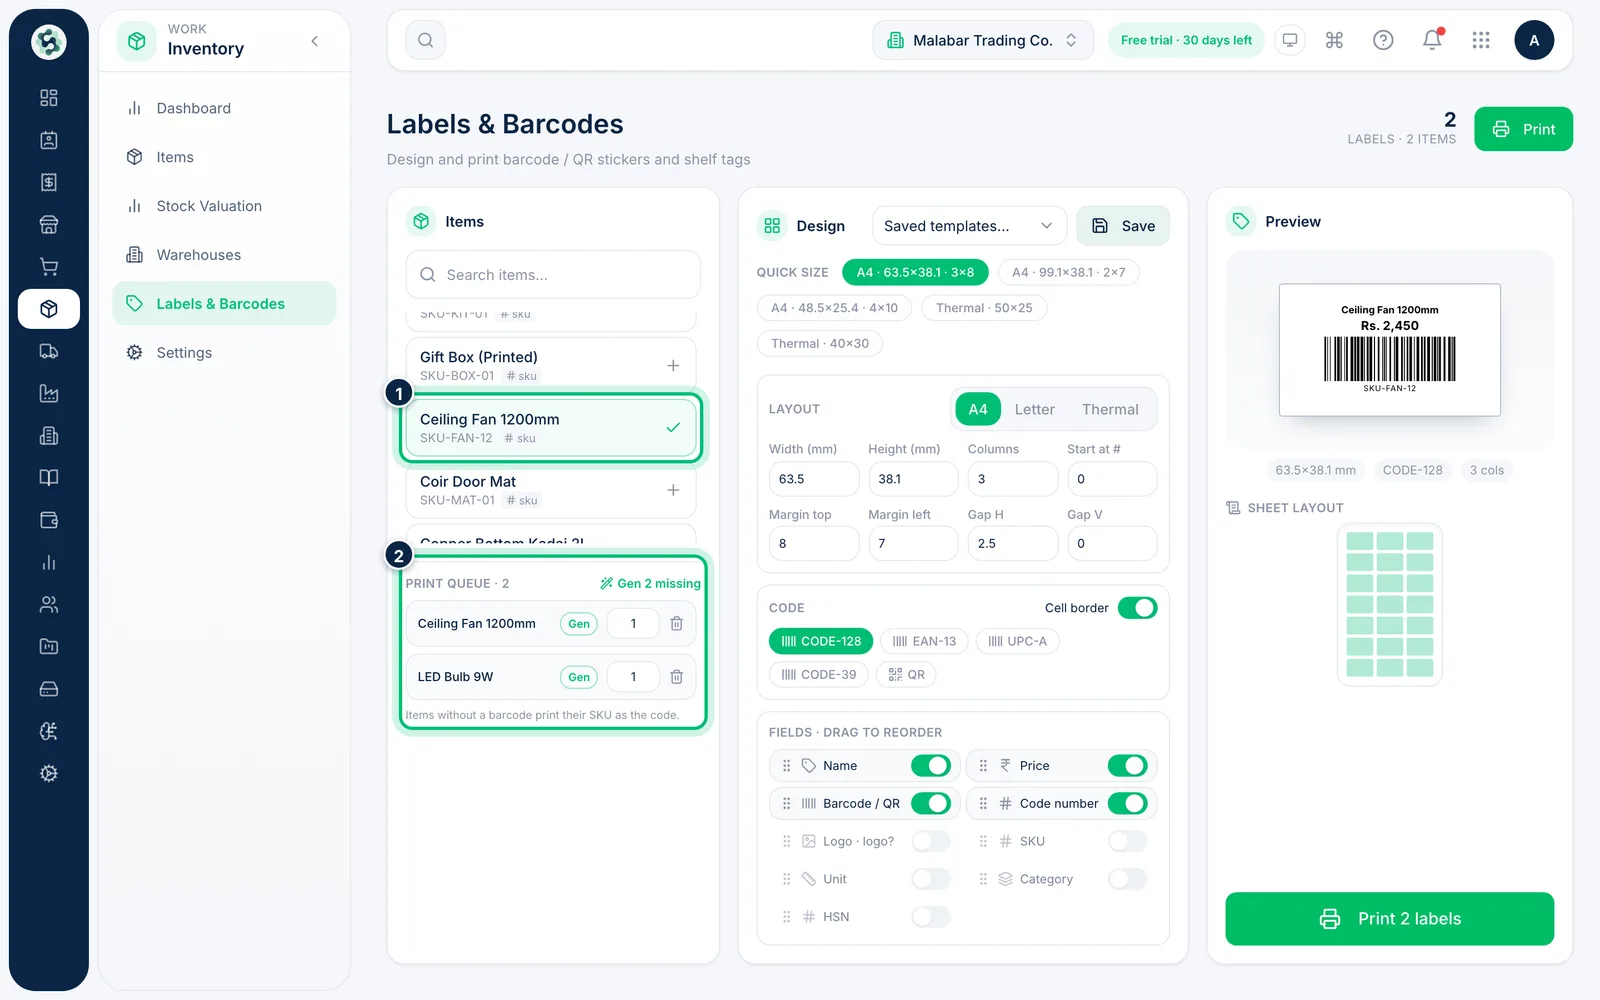
2Give items a barcode
Items without a barcode print their SKU as the code. To give them a proper barcode, choose Gen next to an item, or the Gen … missing link above the queue to do them all at once.
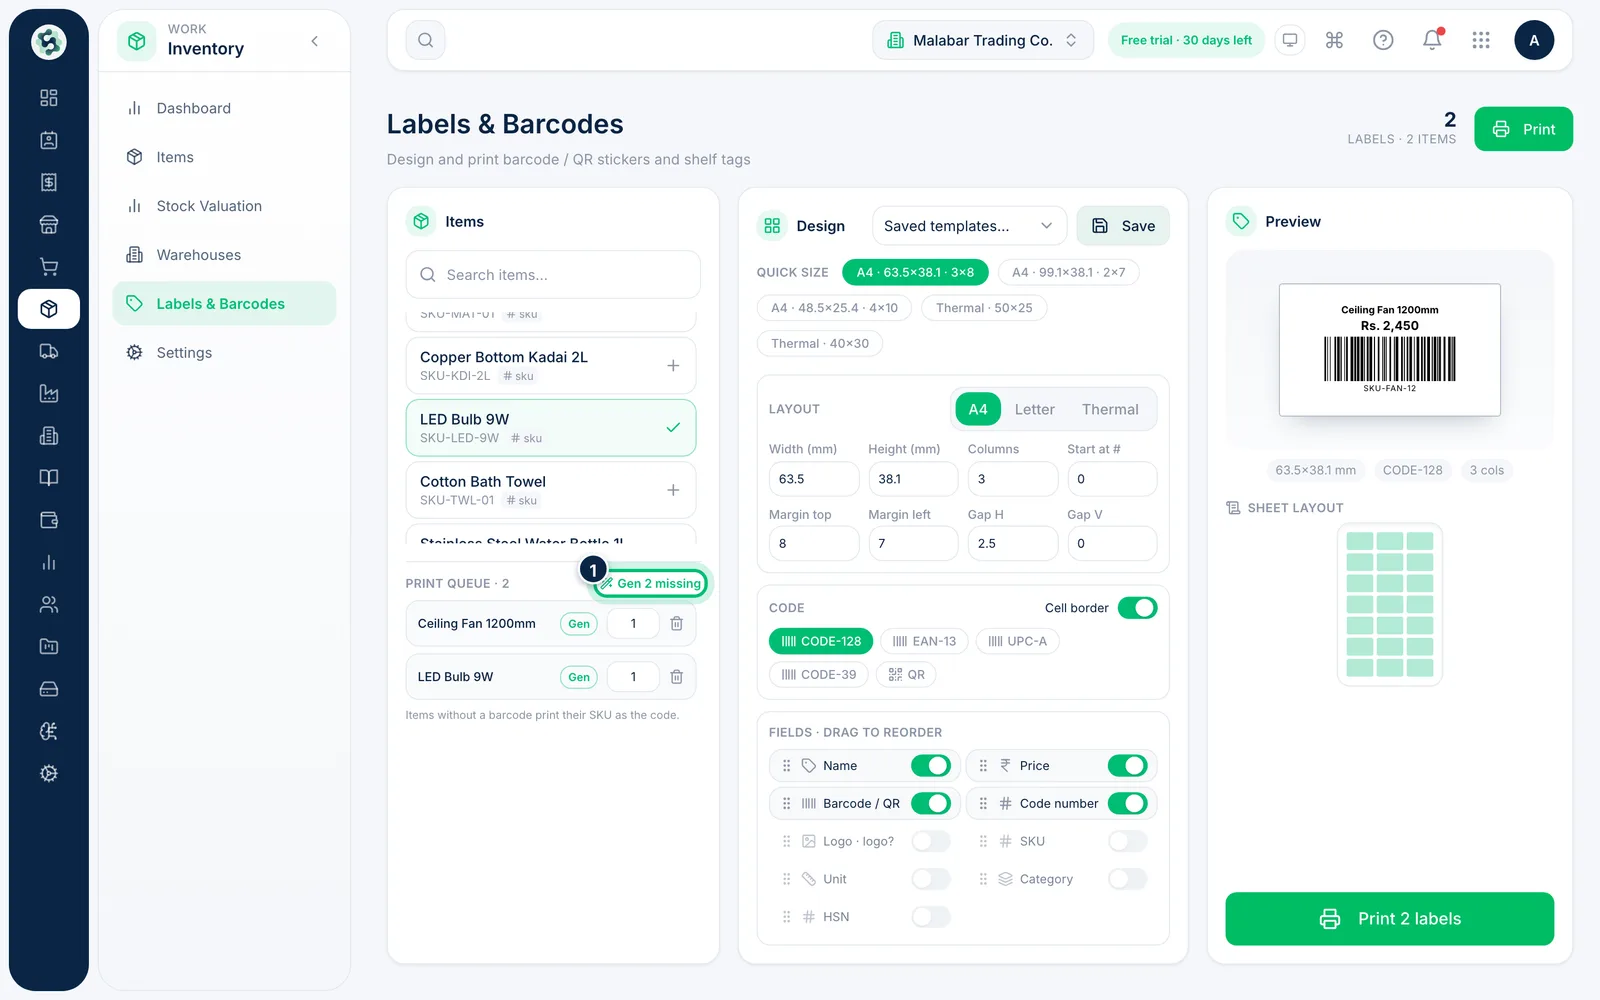
3Choose the label size and code
Under Design, pick a Quick size for your label sheet or thermal roll, or set the layout yourself. Choose the code type — CODE-128, EAN-13, UPC-A, CODE-39 or QR — and switch on the fields to show, such as name, price or HSN.
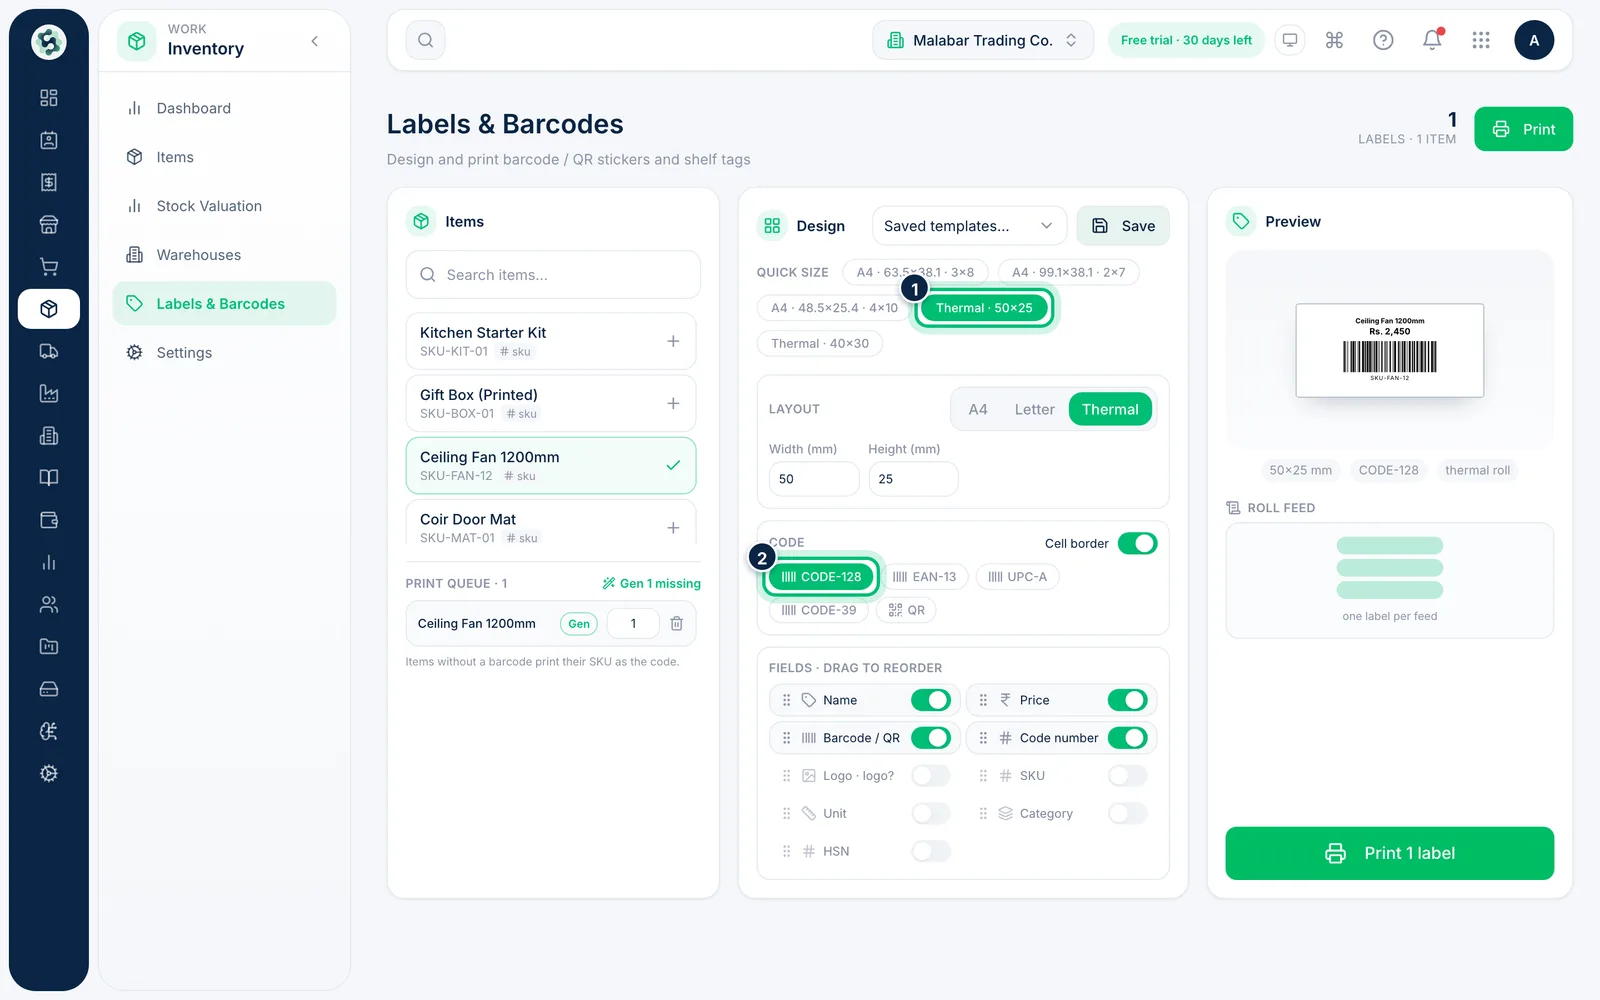
4Preview and print
Check the Preview, then choose Print at the top (or the Print … labels button under the preview). Scalar360 creates a print-ready file. Choose Save to keep the design as a template for next time.
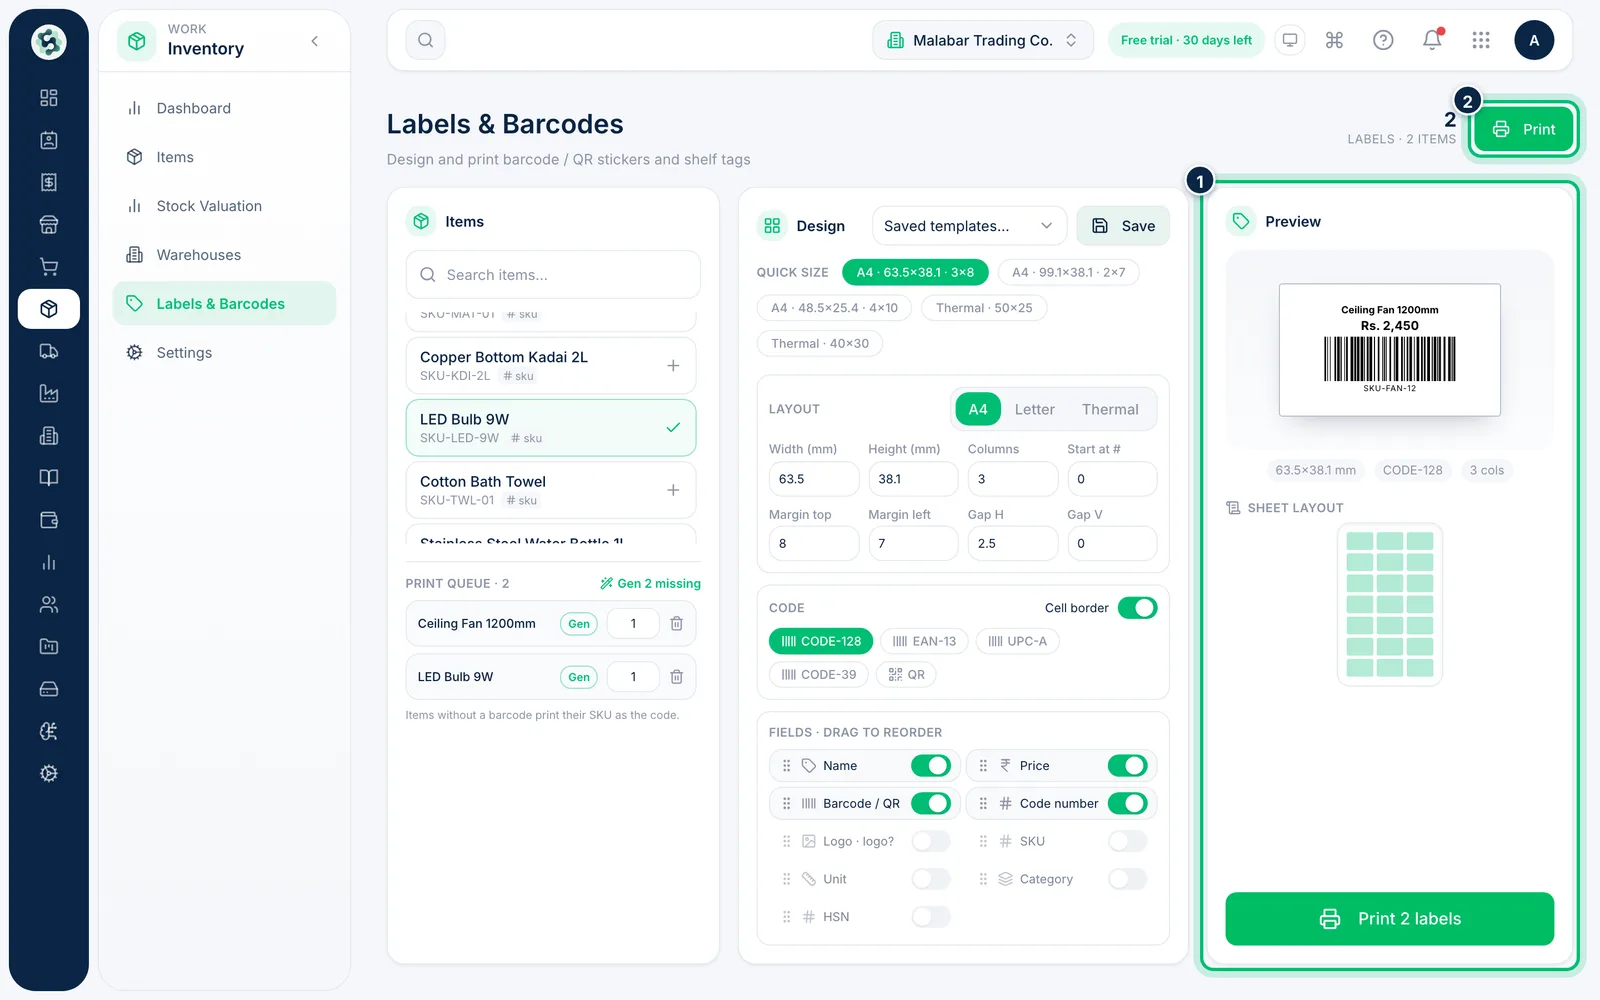
Related guides
Still stuck? Contact our support team — or start a free trial to try this in your own company.